How to Make a New Flat Icon in an Icon Pack
Request
Product Owner
PO
make new hammer flat icon in existing pack
Designer
Lumi
sonnet
Found a matching template for flat icon inpainting — I'll use the existing pack icons as reference, build a 2×2 grid, mask the empty cell, and generate the new hammer via nanobanana. Then crop, clean up, and export at 256×256.
What Happens Inside
That one-line request is all you need. The agent picks the right template, figures out the pack style, selects reference icons, and runs the full pipeline automatically. Below is what it does under the hood — so you understand the technique, not because you need to type any of this.
The idea: Show the AI three existing icons from the pack in a 2×2 grid, leave the fourth cell empty, and let it inpaint the new icon in the same style. Then crop, clean up, and export.
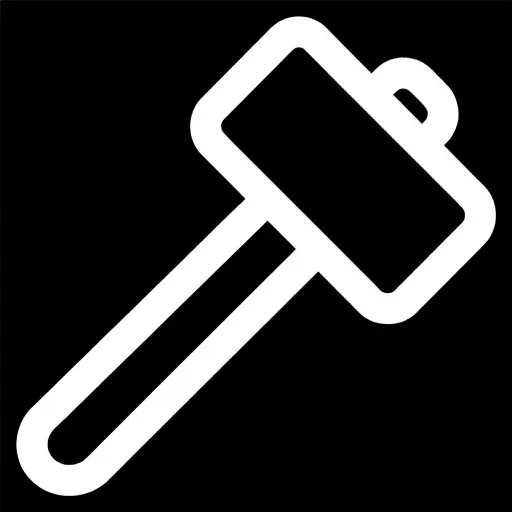
We made hammer3 — a builder/framing hammer (no claw, just a solid rectangular striking head) to replace the axe icon in the UI.
Pack Style
The Phosphor icon pack uses:
- 256×256 px PNG files
- Thick white outline strokes, rounded caps, no fill
- Black background
- Diagonal orientation for tool icons
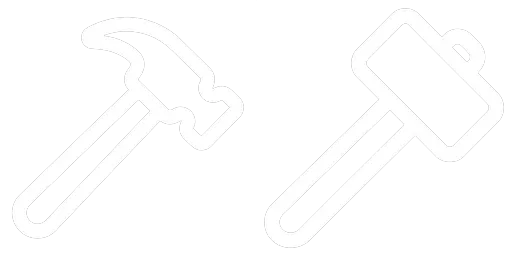
Reference icons used: axe.png, wrench.png, screwdriver.png
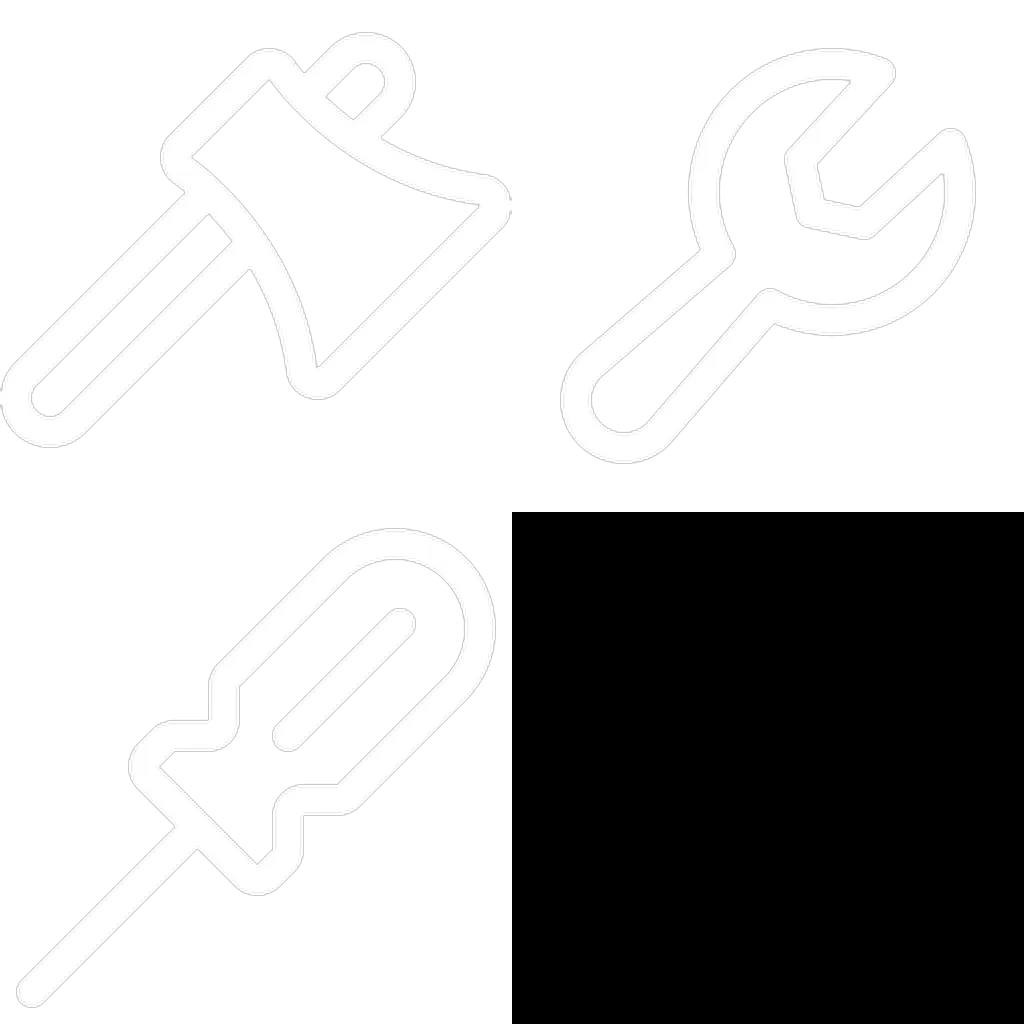
Step 1 — Build the 2×2 Reference Grid
Resize all three reference icons to 512×512, create a black empty cell, stitch into a 2×2 grid.
resize images/icons/phosphor/axe.png 512,512 .temp/ref1_512.png
resize images/icons/phosphor/wrench.png 512,512 .temp/ref2_512.png
resize images/icons/phosphor/screwdriver.png 512,512 .temp/ref3_512.png

create_blank 512,512 .temp/empty_cell.png mode=RGB color=#000000

stitch .temp/ref1_512.png .temp/ref2_512.png horizontal .temp/row1.png
stitch .temp/ref3_512.png .temp/empty_cell.png horizontal .temp/row2.png
stitch .temp/row1.png .temp/row2.png vertical .temp/hammer_grid.png
The bottom-right cell is the target — pure black, ready for inpainting.
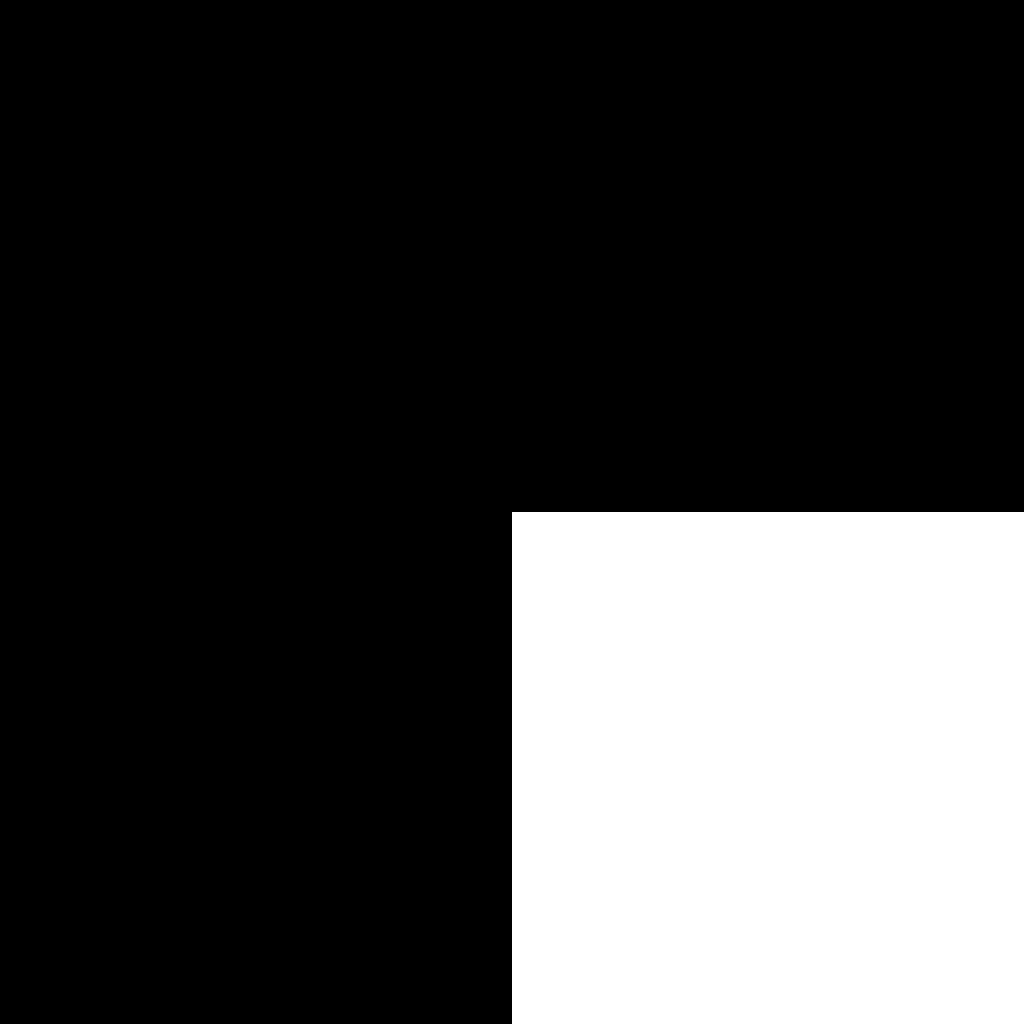
Step 2 — Create the Inpaint Mask
The mask tells the AI exactly where to paint. Black = keep, white = generate here.
create_blank 1024,1024 .temp/hammer_grid_mask.png mode=RGB color=#000000
draw_rect .temp/hammer_grid_mask.png 512,512,512,512 .temp/hammer_grid_mask.png color=white fill=true
White covers only the bottom-right quadrant (pixels 512,512 → 1024,1024).
Step 3 — Inpaint with Nanobanana
Meta section (meta/files/images/icons/phosphor/hammer3_png.md):
FILE: images/icons/phosphor/hammer3.png
WIDTH: 1024
HEIGHT: 1024
PROMPT: |
  You see a 2x2 grid of flat UI tool icons (white outline shapes on black background,
  thick rounded strokes, no fill).
  Top-left: axe. Top-right: wrench. Bottom-left: screwdriver.
  Bottom-right: empty black cell — insert a builder/framing hammer icon here:
  - Thick white outline strokes (~30px on 512x512 cell), rounded caps, NO fill
  - Black background, white strokes only
  - Diagonal orientation (handle bottom-left to top-right, head at top-right)
  - Builder hammer: large rectangular head, flat on BOTH sides — NO claw, NO nail extractor
  - Long straight handle with rounded end
  - Same visual weight as neighbors
NEGATIVE PROMPT: claw, nail extractor, curved fork, gradients, 3D, fill, noise, blur
UTILITY: nanobanana
IMAGE-INPUT: .temp/hammer_grid.png
MASK: .temp/hammer_grid_mask.png
ASPECT_RATIO: 1:1
RESOLUTION: 1K
VERSION: pro
FILES: .temp/hammer_grid.png, .temp/hammer_grid_mask.png
Trigger generation → nanobanana fills the bottom-right cell with the new hammer.
Key prompt tips:
- Describe what’s already in the grid so the AI understands context
- Be explicit about what NOT to include (no claw!) in both PROMPT and NEGATIVE PROMPT
- Reference stroke thickness relative to cell size (~30px on 512px)
Step 4 — Crop the Result
The generation outputs the full 1024×1024 grid. Crop just the bottom-right cell:
crop images/icons/phosphor/hammer3.png 512,512,512,512 .temp/hammer3_cell.png
Step 5 — BW Postprocessing (Transparency)
For monochrome icons (white strokes on black), use color=bw — it converts luminance directly to alpha. No AI background removal, no tint filter needed.
filter make_color_transparent params .temp/hammer3_cell.png .temp/hammer3_bw.png color=bw
Why
bwand notrembg?rembgis AI-based and can eat into stroke edges.bwis deterministic — pure black becomes fully transparent, pure white stays fully opaque, grays become semi-transparent. Perfect for this icon style.
Step 6 — Finalize at 256×256
resize .temp/hammer3_bw.png 256,256 images/icons/phosphor/hammer3.png
Done. The icon matches the pack perfectly.
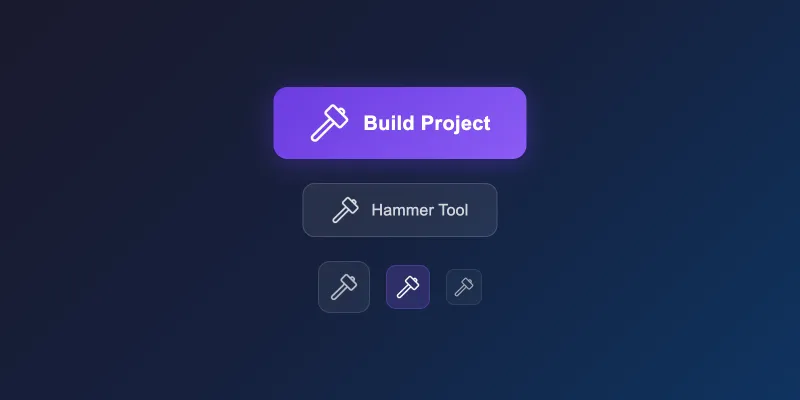
Result — Icon on a UI Button
Here’s the final hammer icon placed on styled UI buttons — primary, ghost, and icon-only variants at different sizes. This is what the icon looks like in a real interface:
Full Workflow Summary
| Step | Command | Output |
|---|---|---|
| Resize refs | resize ... 512,512 | .temp/ref1-3_512.png |
| Build grid | stitch × 3 | .temp/hammer_grid.png |
| Create mask | create_blank + draw_rect | .temp/hammer_grid_mask.png |
| Inpaint | nanobanana meta section | hammer3.png (1024×1024 grid) |
| Crop cell | crop ... 512,512,512,512 | .temp/hammer3_cell.png |
| BW transparency | filter make_color_transparent color=bw | .temp/hammer3_bw.png |
| Final resize | resize ... 256,256 | hammer3.png ✓ |
Key Learnings
color=bwis the right postprocessing for monochrome (white-on-black) icons — skip rembg and tint entirely- Negative prompt matters — explicitly listing “claw, nail extractor” prevented the AI from defaulting to a claw hammer
- Crop is always manual — the meta section outputs the full grid; crop the target cell after generation
- Mask coordinates for bottom-right cell of a 1024×1024 grid:
512,512,512,512(x, y, width, height)